Toying with Microcontrollers Part Deux
I have been pursuing my work on the über alarm clock project in my spare time. For those of you wondering what the hell I'm talking about, see my original post on the topic. This project is largely an excuse for me to learn more about electronics, microcontrollers and embedded development. However, it's also motivated in this reality: I have trouble falling asleep at night and I oversleep in the morning. My current alarm clock also sucks, and will sometimes not ring at all, even though I can verify it's been set in the morning (not kidding!). Hence the idea to build an alarm clock that is reliable, automatically sets itself, rings loudly, and only rings when needed.
I've recently read an article about oversleeping and insomnia that lead me to believe that perhaps one of the reasons I have trouble falling asleep is ambient noise. I live on a busy street and the sound of cars outside can be heard fairly constantly (my girlfriend also has a tendency to snore). I use earplugs, but they don't block out the noise as well as I'd like them to. Hence, I've had this idea that perhaps I could build a white noise machine into my ultimate alarm clock. I'll be able to tinker with the sound to make it sound just right, and as loud as I want. This will hopefully produce a pleasant sound that blocks out most of the ambient noise.
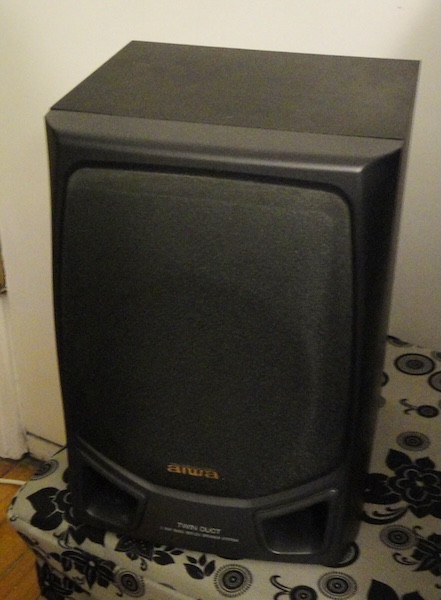
The series of microcontrollers I'm using can run at up to 20MHz or so, and has PWM outputs, which make it possible to generate sound. Hence, I thougt it might be pretty easy to amplify this PWM signal using a power MOSFET and filter it out at the speaker end using a capacitor. I decided to buy an old speaker with sufficient low frequency capabilities at some used store, it cost me $5:
I was able to produce sound, some of which was pretty promising sounding. Unfortunately, however, it seems that using PWM to generate sound, even at high sampling rates, introduces too much audio glitches. Hence, I've decided to order a Digital Analog Conversion (DAC) chip and an audio amplifier chip. This should allow me to generate better quality sound.
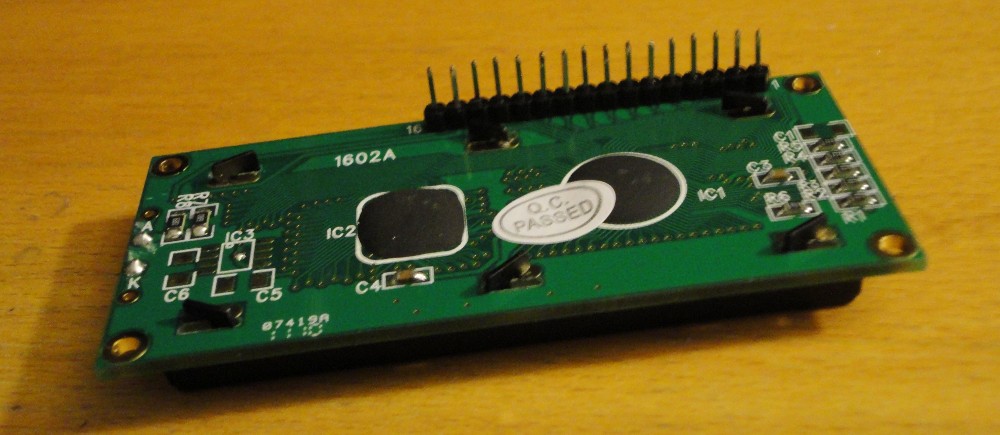
Since I've had to put this part of the project on hold, I decided to work on other basic things, like getting a display working. I owned two HD44780-compatible displays (you can find them for about $3.50 shipped on ebay). So I soldered a header to one of them that I can easily stick into a solderless breadboard:
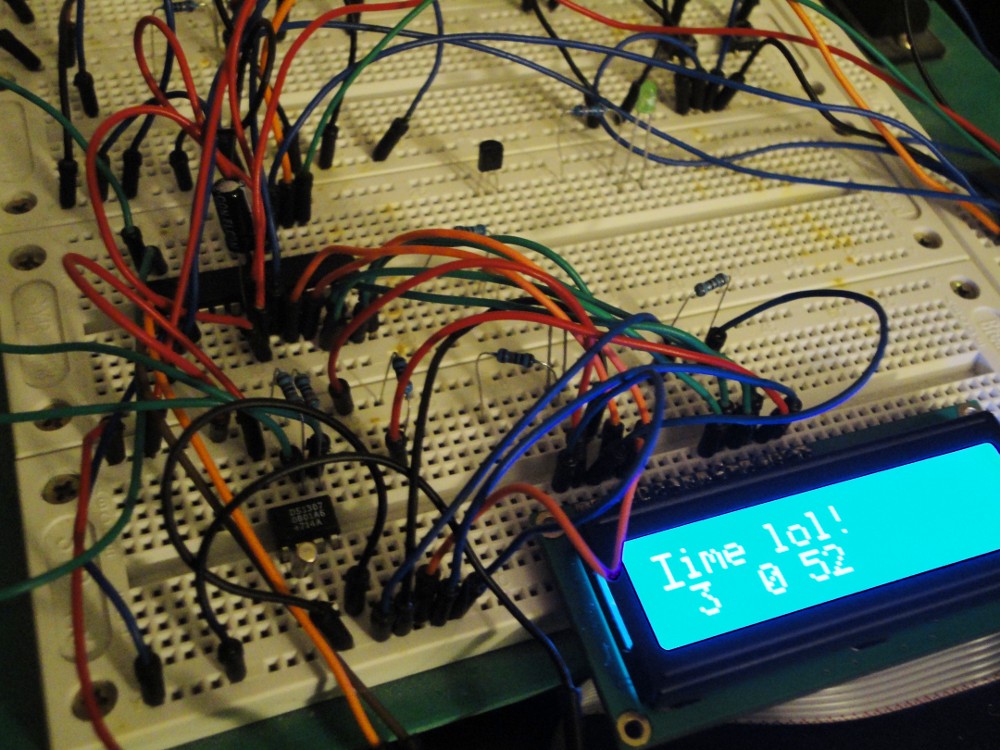
I was able to find several helpful tutorials on how to interface one of these with a microcontroller. The spec sheet for the HD44780 controller also proved quite useful. It took quite a bit of tinkering, but I was able to get it working in the end. Not only that, I was able to interface it with the printf/fprintf functions from avr-libc. You can see it below, displaying the time read from a DS1307 Real-Time Clock (RTC) chip:
I still have much to learn but I'm confident I can at least get a basic alarm clock working. Once I receive my audio chips, I'll look into integrating a white noise machine into this. For now, I'll need to look into what kind of casing I want to put this in, interfacing my microcontroller with push buttons, and programming some kind of menu or user interface. I might also want to acquire a bigger LCD, for comfort. I've spotted a nice 20x4 display on ebay.
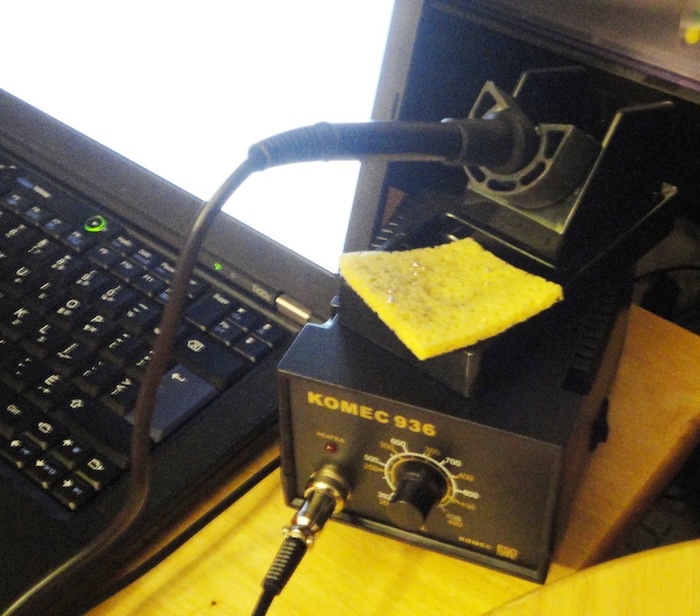
I also need to learn more about soldering. I bought myself a Komec 936 soldering station and practiced with it a little bit. I was able to solder a header to my LCD module, for example. I still clearly haven't mastered soldering, however. I tried to build myself a simple regulated DC power supply circuit on a prototype Printed Circuit Board (PCB) and the result was a complete disaster. Burn marks everywhere on the board, big blobs of solder. I think that the kind of prototype board I used was perhaps too difficult to use for a novice like me, as it requires me to make solder connections between individual circular pads, which I find quite difficult. I decided to order some stripboards, which will hopefully be easier to work with.


